Dual Monitor Upgrade
I really like the work flow of having dual monitors. I used to like one big monitor, and had a difficult time getting over the gap between the two monitors. After using dual monitors for over a year now at work, I have seen the light and have been converted. In fact, I just upgraded my home computer to dual monitors. The upgrade is very simple, and later in this blog I will provide details. First, I wanted to share how I use dual monitors to make my workflow more efficient.
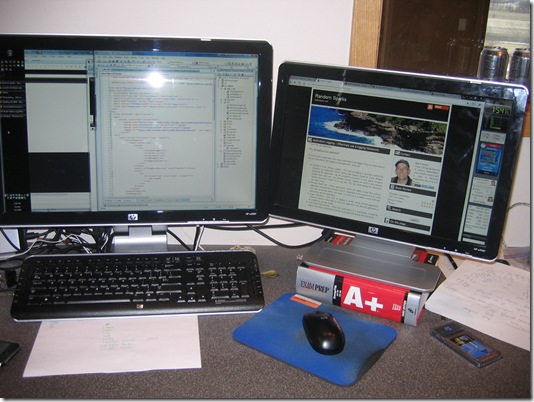
The picture above shows my home setup. I have a 22’’ primary monitor on the left and a 19’’ secondary on the right. I use the primary monitor to display what ever I am working on. I generally, push all other content to the secondary monitor. For instance when I am developing a web application, I have Visual Studio in the primary monitor and then all the browsers I want to support open in the secondary monitor. In the secondary monitor I also keep open email. Having a 22’’ primary monitor also allows me to have two document side-by-side with in it.
I configure the Windows taskbar to auto-hide and place it on the left hand side of the primary monitor. Having the taskbar in the primary monitor minimizes the distance the mouse travels to open up a new application. Configuring the taskbar to auto-hide maximizes space. I also have the Google sidebar docked on the right-hand side of the secondary monitor. I don’t auto-hide the Google sidebar as generally I have widgets installed that I like to monitor throughout the day.
How do you do the upgrade?
The specific instructions may vary. The following were the steps that I took.
1. Look in the back of your computer and determine if you already have a video card that supports dual monitors. You will see either two VGA outputs or two DVI outputs. One will be used by your current monitor and one will be unused. In this case, read the following steps but skip the part about purchasing a new video card.
Warning: If you need to upgrade your video card to support dual monitors, then you will need to open your computer and swap out hardware. If you are not comfortable doing this, then don’t. Take your computer to someone who is.
2. Video cards generally fit into one of three types of connectors on your motherboard: AGP, PCI or PCI-Express. Open up your computer and determine what type of slot you have. While you are in there determine how many open slots are above or below your current video card. Some newer video cards require the extra space for fans and cooling. If you are not sure, remove your current card and take a picture of the connector. Be sure to take pictures of the amount of available space inside the computer case. Bring these pictures with you when you are shopping for your replacement video card.
3. You will also need to determine the size of your current power supply. Look for a maximum rating for watts. You will need 300W at minimum to support most video cards. If you have less than 300W, then you may need to upgrade the power supply also. In that case, you may want to re-evaluate your upgrade.
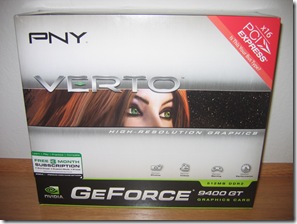
4. Determine how you are going to use your monitors. Purchase your new video card and your monitor. If you aren’t doing a lot of 3D rendering / pixel shaders (generally gaming) then you don’t need a high end video card. Buy what you need. I bought a $99 GeForce 9400GT card. In addition, I saved a bit of money on the second monitor by purchasing a display model (19’’ HPw1907 – $120)
 5. Follow the video card installation instruction to install the new hardware and drivers for the video card. Again, if you are not comfortable with this type of activity don’t do it.
6. Configure your desktop for multiple monitor support. For my video card, NVidia provided a nice configuration utility that allowed me to turn on multiple monitor and configure the primary and secondary monitors.
Once you have all the new hardware, it takes about an hour to install and configure. If you are comfortable meddling around inside your computer this is an easy upgrade.


